How to Sew a Straight Line on a Sewing Machine: Beginner’s Guide
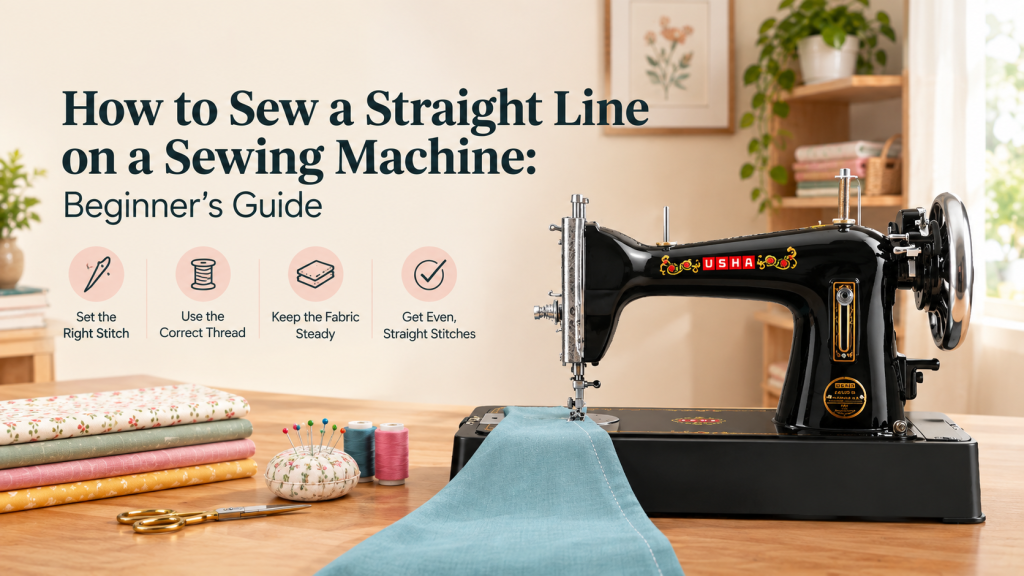
Sewing a straight line is one of the first techniques beginners learn when using a sewing machine. It forms the foundation for many sewing projects and helps you create neat, even seams with greater control.
If you are getting started with sewing, this blog is for you. We have created a detailed guide for sewing straight lines with simple steps and tips to help you achieve neat and even stitches on your sewing machine.
Things to Gather Before Learning How to Straight Stitch
Below are the main supplies to keep handy before learning how to sew straight lines on your sewing machine:
- Quilt cotton or cotton fabric
- Sewing machine needle compatible with your Usha straight stitch sewing machine
- High-quality, all-purpose thread
- Fabric scissors and clips
- Iron and Ironing board
Before beginning, you can watch and practice this tutorial on how to sew on paper without any threading.
How to Get a Straight Line on a Sewing Machine: Step-by-Step
Step 1 – Prepare and Mark the Fabric
Preparing your fabric beforehand helps you remove unnecessary chemicals, prevent shrinkage and finish sewing successfully. Similarly, marking your fabric ensures you can align and cut it accurately during the stitching process.
To prepare your fabric, pre-shrink it by washing and drying it according to the care label instructions, and gently press it along the seams.
Then fold it lengthwise and breadthwise, aligning the edges, and smooth out any wrinkles. Finally, check for the grainline by gently pulling the fabric along the line parallel to its edge.
Ideally, no fabric should stretch straight, but some crosswise stretching is allowed. After preparing your fabric, mark it with tailor’s chalk, chalk wheel, or tailor’s tacks and thread tracing.
Step 2 – Follow the Seam Guide
All sewing machines have a throat plate, which is a plate just below the needle with holes for the needle to pass through. This plate also has markings that indicate seam allowances for different fabrics.
The seam allowance refers to the extra space between the fabric edge and the stitching line. Most fabrics have a standard ⅝” or ½” seam allowance, though it can vary by fabric.
If following the seam allowance line is tricky while sewing, set up a physical barrier with thick tape along the line, if needed.
Step 3 – Position the Fabric Under the Presser Foot
Use the presser foot lever to raise the presser foot and place the fabric under it. Then position it correctly along the edges so the right side of your fabric matches the right edge of the presser foot. Also ensure your fabric aligns with the tape line you used in Step 2 for more precision.
Once aligned, lower the presser foot by releasing the lever to hold it in place. Then use the handwheel of the sewing machine for straight lines to lower the needle until it is fully down and touching the fabric.
Step 4 – Start Sewing Slowly
Pressing the foot pedal slowly to begin sewing. Starting slowly gives you more control over the stitching process and helps you avoid early errors. Continue stitching like this for 1 inch along the fabric edge or intended direction, and remember that it is okay to go slow if you are new to stitching.
Step 5 – Maintain Consistent Speed and Fabric Movement
Maintaining a consistent speed helps you track your progress and avoid mistakes like sudden deviations from the pattern, frayed threads and more.
Also remember to keep moving or guiding the fabric with both your hands for optimal stitching.
Step 6 – Backstitch at the End
After you have stitched forward for 1 inch, backstitch or reverse stitch for 1 inch over the forward 1-inch stitch. This creates a firm knot to prevent stitches from becoming loose.
Continue stitching forward, and when you reach the end of the fabric, tie a knot.
Then move the fabric to start stitching again, and repeat this process until you finish stitching straight lines.
Learn More: Watch the Complete Tutorial on How to Sew on Fabric
Common Mistakes To Avoid When Sewing a Straight Line
As a beginner, learning about common straight-stitching mistakes will help you stay mindful and avoid repeating them throughout the process. These include the following:
- Pushing or Pulling the Fabric Your garment will move naturally when you straight-stitch with Usha’s straight-stitch or any other sewing machine. So you don’t need to push the fabric forward or pull it from behind, as it can cause bunching or seam warping from stretching, respectively. Instead, guide the fabric forward with both hands to ensure an even straight stitch.
- Forgetting to Lower the Presser Foot Not lowering the presser foot to hold the fabric in place can cause thread to tangle like a bird’s nest. This is because the sewing machine can’t control or feed the fabric properly for stitching. So, always lower the presser foot once you align the fabric with the seam guide and fabric edge. This keeps the fabric in place throughout the stitching process.
- Not Backstitching Not backstitching your forward stitches can loosen them over time and potentially unravel the fabric. So always remember to backstitch over your forward stitches to avoid this.
Explore Usha Straight Stitch Sewing Machines for Precise Sewing
Usha features a broad range of straight stitch sewing machines, some of which are presented below:
| Usha Straight Stitch Sewing Machines | Features |
|---|---|
| Usha Tailor DLX Cherry Red Straight Stitch Sewing Machine | Auto tripping spring-loaded bobbin winder, screw-type pressure adjustment for controlling needle bar pressure. |
| Usha Aayush Stitch Sewing Machine | Closed shuttle race, lever-type stitch regulator with forward and reverse (back) stitching mechanism. |
| Usha Anand DLX Straight Stitch Sewing Machine | Option to operate with a motor, auto-tripping spring-loaded bobbin winder. |
| Usha Umang Stitch Sewing Machine | Open shuttle race for easy maintenance, Screw-based pressure adjustment for controlling needle bar pressure. |
Want to explore our other sewing machines? Visit the Usha Sew website for more information!
Conclusion
Mastering the art of sewing a straight line on your sewing machine helps you develop a strong foundation for your upcoming tailoring projects. It teaches you control and precision, which are vital skills for mastering more advanced sewing techniques.
Usha Sew offers some of the best sewing machines for straight stitching, which feature automatic tripping, spring-loaded bobbin winders, and lever-type stitch regulators for easy threading and stitching. You can master your straight stitching skills easily with these machines.
To explore the full range of these products, visit the Usha Sew website or visit a nearby Usha Sew store .
Frequently Asked Questions
Q.1 What stitch length should I use for straight stitching?
Ans: The ideal stitch length for straight stitching for most fabrics is between 2.5 and 3.0 mm. For more precision, use 2.0-2.5 mm for fine fabrics and 3.0-3.5 mm for thicker fabrics.
Q.2 How do I keep fabric straight while sewing?
Ans: Set up a physical barrier with thick tape to follow the seam line accurately and keep the fabric straight while sewing. You can also align the fabric so the right side matches the right edge of the presser foot for more accurate results.