How to Thread a Sewing Machine
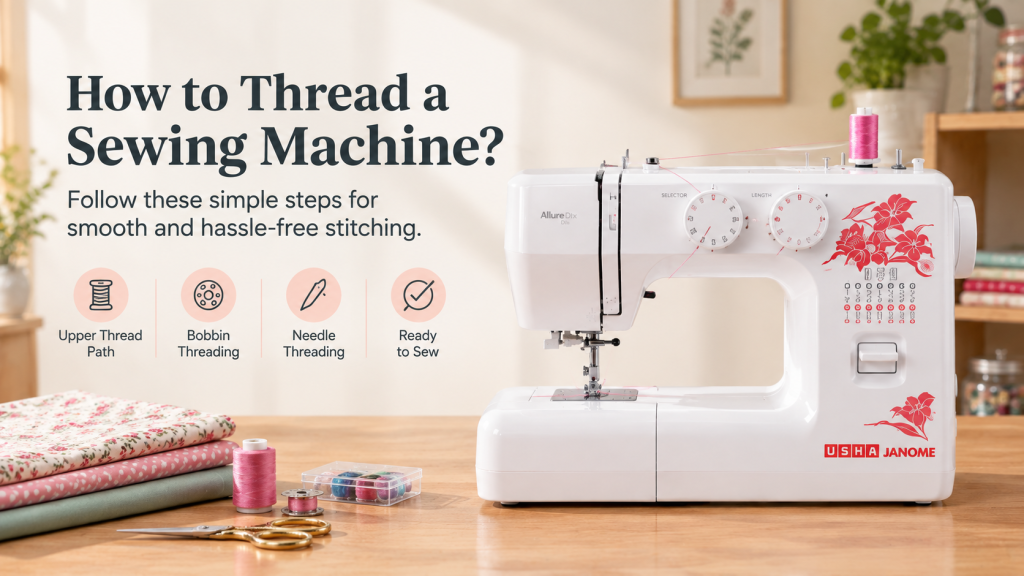
Threading a sewing machine is the essential first step to getting started with sewing. It makes sewing easier and help achieve consistent, clean and even stitches. Before threading the machine, it is important to understand its key parts and how they work together.
In this guide, we will walk you through the steps to thread a sewing machine correctly and get it ready for stitching.
Know the Main Parts of a Sewing Machine Before Threading It
A sewing machine has the following parts:
| Parts of a Sewing Machine | About Each Part |
|---|---|
| Presser foot | Holds the fabric in place during stitching. |
| Presser Foot Lever | Lifts the presser foot up and down. |
| Feed dogs | Move the fabric through the machine. |
| Spool Pin | Holds the spool. |
| Spool Stopper | Holds the spool of thread in place during the stitching process. |
| Upper Thread | The thread that is present on the spool pin. |
| Bobbin Winder | Helps you efficiently wind threads, filaments or yarn onto bobbins or spools. |
| Tension Dial | Controls the upper thread’s tension. |
| Hand Wheel | Helps raise the Usha sewing machine’s needle up or down (for straight sewing/industrial machines). |
| Buttons to raise/lower Needles (Needle up, Needle Down) | Helps raise the Usha sewing machine’s needle up or down (for the Usha Janome or Memory craft sewing machine range). |
| Reverse Button | Helps reverse the direction of your stitching. |
| Needle | Responsible for the stitch by taking the thread through the fabric. |
| Needle’s Eye | Helps pass the thread through the needle. |
| Bed | Area for resting the fabric during the stitching process. |
| Throat Plate | A metallic plate with holes for the needle to pass through. |
| Foot Pedal | Controls the stitching speed. |
Learning the different parts of a sewing machine before threading helps you understand each step clearly.
What Things Do You Need To Gather Before Threading a Sewing Machine?
You will need to gather the following things before you start threading your sewing machine:
- High-quality thread
- Compatible bobbin/bobbins with thread wound around them (as applicable)
- Bobbin compartments
- An installed needle
- Small thread snips or scissors
- Sufficient lighting (like a small table lamp, for example)
- Your sewing machine’s manual (Good to have)
Gathering these items beforehand helps you avoid unnecessary mistakes during threading.
How to Thread a Sewing Machine Step by Step
Step 1 – Switch Off the Sewing Machine
Switch off your Usha sewing machine by flicking the off switch, then unplug the power cord.
Step 2 – Raise the Presser Foot
Use the presser foot lever to raise the presser foot before you begin threading. Raising the presser foot ensures you can slip the thread through the open tension discs and prevents loose stitches, messy thread clusters, or loops under the fabric.
When threading through the tension discs, hold the thread gently, pull it into the tension path, and follow the printed arrow or the instructions in the machine’s manual.
Step 3 – Raise the Needle to Its Highest Position
Use the handwheel or needle raising buttons to raise the needle to its highest position.
Step 4 – Place the Thread Spool on the Spool Pin
Gently place your spool of thread on the spool pin, as per the spool pin’s alignment. After placing it on the spool pin, secure a spool cap (if required) to prevent the thread spool from falling.
Step 5 – Guide the Thread Through the First Thread Guide
Pull the thread from the spool pin and pass it through the first thread guide near the top of the machine. The thread guide controls the direction and movement of the upper thread from the spool pin to the needle.
Usha straight stitch sewing machines, like the Usha Tailor DLX Sewing Machines , have a curved thread guide.
Step 6 – Thread the Take-Up Lever
If you use a straight stitch sewing machine , thread the thread through or around the take-up lever. Check whether the machine’s take-up lever has a visible hole or slotted design, and thread accordingly.
Step 7 – Pass the Thread Through the Lower Thread Guides
Pass the thread through the lower thread guides, which are located near the faceplate, above the needle, or on the needle bar.
Step 8 – Thread the Sewing Machine Needle
Manually pass the thread through the needle’s eye in case you are using a straight stitch sewing machine. On the other hand, you can use the automatic sewing machine needle threader function present on Usha’s Zig Zag sewing machines.
Step 9 – Insert the Bobbin Thread
Insert the bobbin by placing the bobbin into the:
- holder in the correct direction, then pull the thread through the bobbin slot and tension guide for top-loading bobbins.
- bobbin case and pulling the thread through the case slot and under the tension spring for front-loading bobbins.
Step 10 -Pull Up The Bobbin Thread
Pull up the bobbin thread by:
- holding the upper thread
- raising and lowering the needle (with the handwheel or buttons), and pulling the upper thread gently
- Once the bobbin thread loop appears, pull the thread loop up and place it under the presser foot.
Tips for Threading a Sewing Machine Like a Pro
- Trim the ends of the thread that have fluffy or split ends with scissors or a thread snip for smooth threading.
- Use the small table lamp or your Usha sewing machine’s inbuilt light for visibility.
- Mark the needle’s eye, if needed, with a bright marker.
- Hold the thread close during threading for better control.
Wrapping Up
Learning how to thread a sewing machine effectively helps you avoid unwanted snags later during stitching.
Usha Sew offers a broad range of sewing machines, for which you can follow a similar threading process. Some differences may arise depending on whether the machine has a handwheel and similar components, such as Usha’s straight stitch and Computerized, Zig Zag or computerized embroidery machines .
You can explore these differences when you buy sewing machines online from our website or from a nearby Usha Sew Store .
Frequently Asked Questions
Q.1 Is it difficult to thread a sewing machine for the first time?
Ans: Threading your Usha sewing machine is easy if you follow the step-by-step instructions in our guide.
Q.2 Why does my sewing machine thread keep getting tangled?
Ans: Your sewing machine thread may get tangled because the thread is frayed or the presser foot is not raised properly. If the thread is frayed, snip the required portion with scissors or a thread snip.
Similarly, raise the presser foot properly with the presser foot lever to smoothly slip the thread through the open tension discs.
Q.3 Do I need to thread the bobbin separately?
Ans: Threading the bobbin separately or manually gives you more control and helps you avoid thread bunching before you begin stitching.